Our 11 Easy Steps Luxury Envelopes will take you through, step by step, everything you need to know, to design your own luxury, premium hand painted envelopes for your special event of wedding day items right here!
If you are searching for a way to decorate your envelope flaps, you have come to the right place.
You seriously want them to look like they have come down from heaven (or near enough) and you have bounds of design skill. And yes, you’re a bit of an artist and you know that you can do miles and miles better than the conventional norms and boring envelopes you tend to see everywhere….then this 11 Easy Steps Luxury Envelopes is for you!
We even have some 11 Easy Steps Luxury Envelopes- extension steps for all you budding artists out there that want to take their work to the next level!

Below we will be covering all the following steps:
-
Materials – Lets’s start with all the materials you need!
-
11 Easy steps – from beginning to end.
-
Advanced techniques to make the final piece even better (for expert artists).
Let’s dive right in!
Materials: here’s what you need. OK, so the ink leaked as I placed the ink bottle flat, but it adds to the photo!

-
Premium paper for your envelopes. You can get handmade paper from Silk & Willow or Fabulous Fancypants. We prefer to use paper from GFSmith.
-
Cold press watercolour paper, you can get hot press watercolour paper too, but I prefer cold press as it seems to grab and hold the watercolour much better. You can get some paper choices from here. If you don’t need to buy a ton of watercolour paper, you can always prepare your artwork on normal paper which can work too, just make sure that it is white!
-
Gold acrylic paint.
-
Pencil.
-
Paintbrushes, one medium and one super fine.
-
Calligraphy nib Leonardt Principal (EF) in an oblique holder which you can see a picture of below. If you are starting off, try to use a Nikko G nib, which doesn’t catch and is much easier to use. Leonardt Principal is a nib for more seasoned calligraphers that have had some experience in the field, yet I highly recommend it with it’s large ink swell capacity and small fine lines.
-
If you need help deciding which nib to order and try out, watch this.
-
T-square ruler, very important for straight lines!
-
Finetic paint palette, which is a type of watercolour with lots of deep shimmer.
-
Access to a colour printer, inkjet by far works the best with painted artwork, if you want to create a quality print, but here you are just looking for an image for guidelines, so bad quality printers are ok too!
-
Paint palette, a small one will do fine, you will only need a small dab of gold paint, unless you are using an extensive colour palette.
-
Cup of water, to rinse off your paintbrushes.
-
2 pieces of matching paper that will be used to make your hand painted envelope.
-
Cardboard surface to glue on – NO DON’T use your dining table, PLEASE!!!
-
Some friends to show off your talent!!!


Let’s start the rumble in the jungle ……
with our 11 Easy Steps Luxury Envelopes…….

-
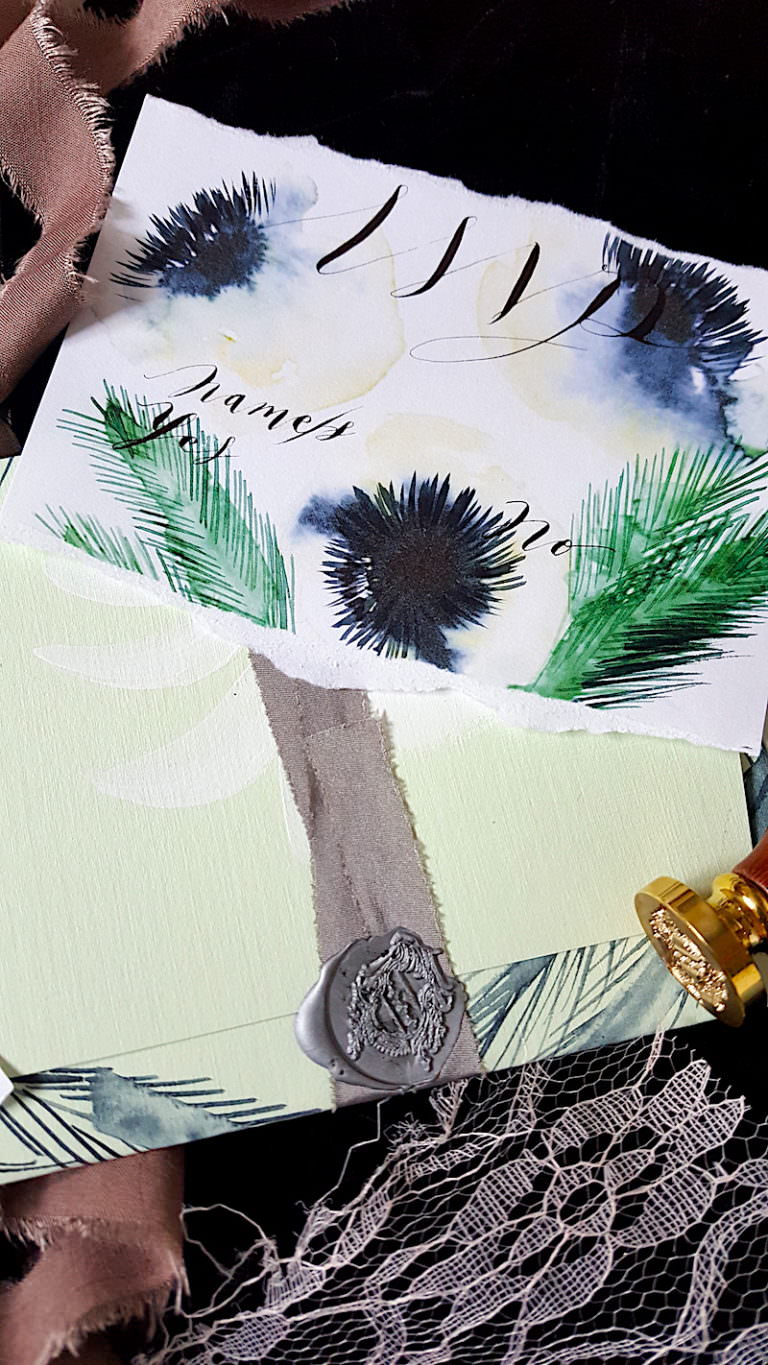
First of all as you can see, you will need to have some prepared artwork ready to go.
-
I used watercolour cold press paper and placed my artwork just below the halfway (if you would fold the paper top down I placed the art below that halfway point).
-
Place the artwork design into your printer and copy onto your paper that you would like to use for the envelope.
-
Next we move to the calligraphy.
Before we go any further, or do any kind of painting, we need to hold our horses here and make sure the calligraphy goes to plan, which is an essential part of 11 Easy Steps Luxury Envelopes! If you’re not experience at calligraphy, it can easily drip all over the paper, or worse, during calligraphy your nib might catch and you could end up with spray of ink all over your work.
If you need some help with this process and would like to practise your skills before you go any further, have a look at this tutorial.
She advises you on everything from nib holders, care for nibs, dealing with nib splatters and how to load the ink onto your nib, the right way!
So it is definitely best to start with calligraphy otherwise all your painting onto the envelope will be wasted! Hey – you could always turn it into an abstract crazy piece of artwork and just throw some other ink blots in- there’s always a choice!

Start practising your calligraphy quite a few times, before you get started. Do you need some helpful videos on creating beautiful calligraphy letters and flourishes? Watch Nikioletti now, or scroll down the instagramfeed at Crimson Letters and see some calligraphy flourishes and videos.
The more you practise this art form, the better you will get!
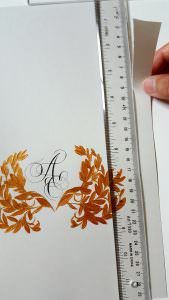
Once you have chosen your two letters to create a monogram, try to overlap them and intertwine the letters as below.
Next we move to the painting stage….
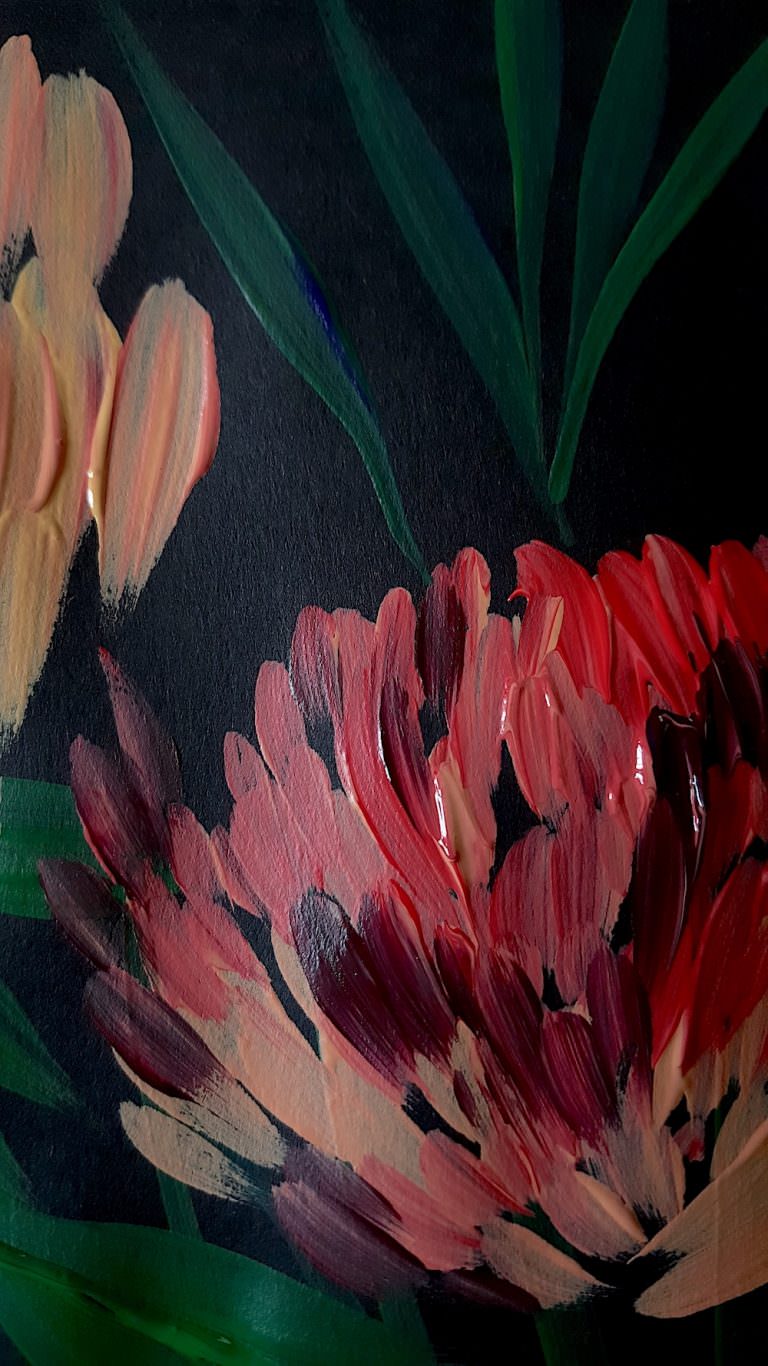
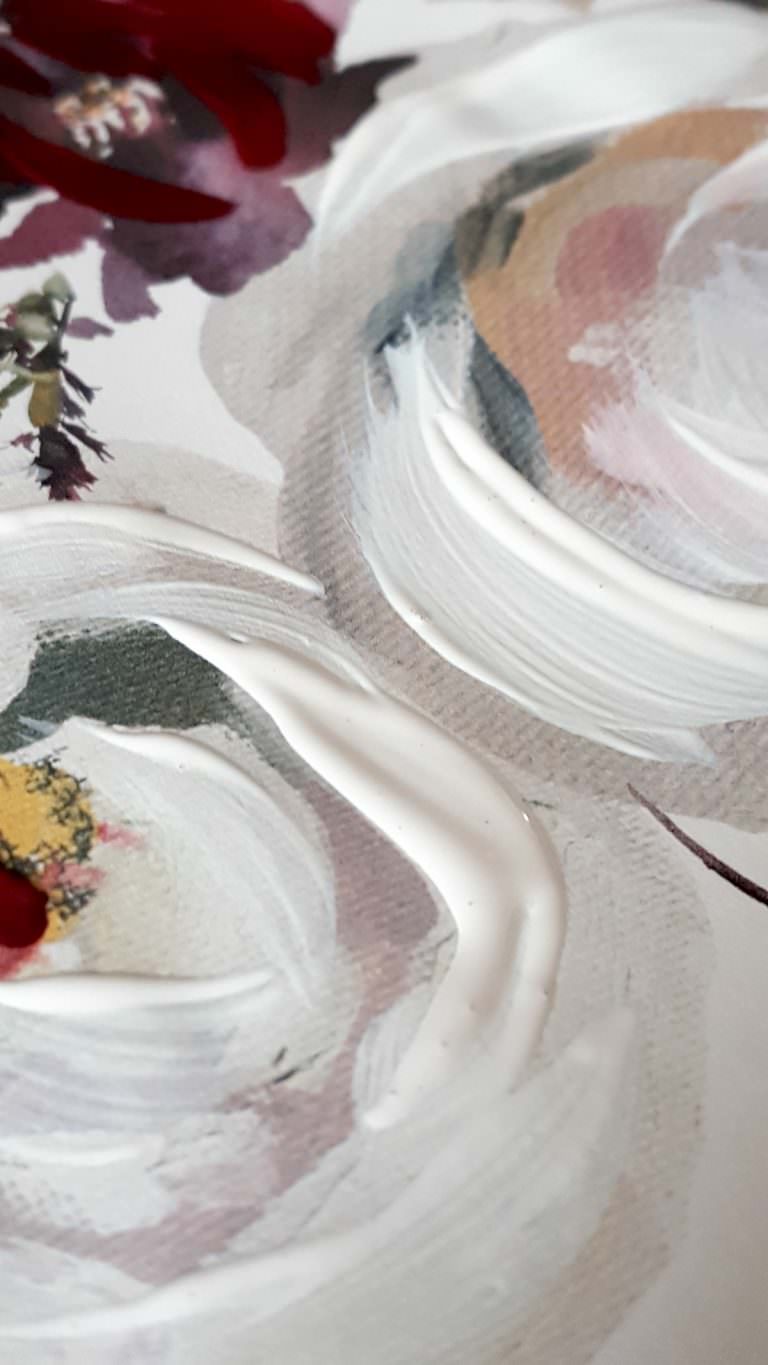
Take out your gold acrylic paint and your two paintbrushes, one should be a fine tipped medium sized brush and the other a fine smaller brush. Remember to also test the brushes before you begin your painting, this will help you to test the brushstrokes and find out which strokes and movements are the best to match your artwork.
To begin, squirt out a little paint, then add a tiny blob of water with your paintbrush to loosen the paint and make it easier to work with.


Here we go, the next part of our 11 Easy Steps Luxury Envelopes.
Start from one side of the artwork and work from the top down, that way you won’t accidentally smudge the paint as you are working. You can keep moving the paper around and keep painting over all of the artwork, see both of the pictures above. While you wait for your beautiful painting to dry, go and get a cup of tea, coffee, or have a quick two minutes break and get your ruler. Acrylic paint dries pretty quickly, so it doesn’t take that long!
Or if you are up to lots of work and your engine is revving, then start on some more envelopes, by the time you start to work on your 5th, 6th hand painted envelope artwork the first one would have dried.
Right, get your T-square, which is a funny type of ruler, not sure what we are talking about, take a look and see here.
ONTO OUR NEXT PART……..
……HOPE YOU HAVE NOT FALLEN ASLEEP YET….
…GOOD…. HERE WE GO……

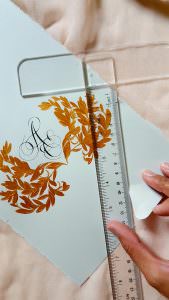
Following on, from the outside point of the artwork, by the edge of the paper measure 1.5cm on both sides equally (see the picture above to help guide you). Now comes the fun part for this 11 Easy Steps Luxury Envelopes, where you can let it RRRIIIIIIPPP.
-
This is where your T-Square come in.
-
Where you have measured your 1.5cm mark, you need to place the T-square right there.
-
Place the T-square on the top of the paper, so the the “T” part rest on the top of the paper. This will ensure that you get a perfectly straight edge, that will be aligned and not half straight.
-
Next carefully, tear the paper downwards. I normally press down hard on the ruler, this is actually pretty addictive!(if you are not sure, see the picture below for reference).
-
Do the same for the other side. You should have something similar to the picture below.

EXTRA ARTIST TIP – FOR ALL YOU PROS READING THIS- I KNOW YOU HAVE IT IN YOU!!!
Now if you wanted to create an extra wow factor you can create watercolour torn edges using your finetic gold shimmer paint palette. Visit https://crimsonletters.com/portfolio/luxury-calligraphy-wedding-invitations/ (scroll down to the bottom gallery and see how this technique, adding watercolour to torn edges can create another dimension of design). You can see how this technique can add so much more texture and style to your final piece.
Now we are going to move onto how to create the”V” flap, (which is the part that you can glue down, or wax stamp).
-
Chose a point on both sides, perhaps, 6 cms up, wherever you think is best and measure this point on both sides ( see the picture below for your reference).


-
Measure the middle point (see the picture above). Now that you have the middle and the two side markings (outside the artwork right and left) you can move onto tearing the ‘V” shape and create your luxury envelope flap.
-
Sometimes this can be a bit tricky to tear, so you can just take a little snip on the sides to help the tearing process.
-
Tear the paper from the sides to the middle point and you will be left with a V shaped flap as below. Remember to give those side edges a tiny snip with the scissors to help you tear, it can be a little hard to tear diagonally. Your edges should look like the picture below.

ALMOST THERE NOW…..
….HERE WE GO………
Next, for our 11 Easy Steps Luxury Envelopes, we will move into creating the next part of the envelope.
The back piece.
The back piece that we will glue our “V” hand painted envelope flap to.
Using the V shape, just above where you have painted your monogram design or chosen image, fold the V down, so it looks like the image below.
Now, take your V shaped flap that you have prepared (folded) and lay it directly on top of the other A4 sized paper. Ensuring that the V flap is directly in the middle, take a pencil and make a small light mark on both sides of the paper, so that when you rip the back paper, you will have the correct size.


Place the V flap to one side while you rip those edges off and you are now on your way to creating your own couture wedding invitations, or event stationery (see the picture above).
With the piece of paper that you have just ripped, fold it in half ( see the picture below).

Now using the back piece (see in picture) take the glue, you can either use double sided tape of a small glue stick, whatever you prefer. Glue a 1cm line, turn it around and glue.

TIP: Make sure you tear the top and bottoms of your papers as well as the sides, so that you are maintaining a consistent, cohesive look.
Carefully taking the back piece, attach it onto the back of the V shape flap.
To complete your beautiful couture hand painted envelope, you may glue the sides.
HOLD ON THERE…….
THAT’S NOT ALL…………….
If you are feeling extra adventurous and your creative juicy are flowing, whizzing and A— A–A—POPPING……
then why not extend your design with a calligraphy design?
I used my calligraphy pen to add an extra design, why not try it? FIRSTLY, I hand traced half of the design, then I used tracing paper to repeat it and use calligraphy to really make something exquisite for the eyes! You can easily incorporate this set into your first initial piece of artwork, so that it will be printed on ( and you won’t have to do a lot of laborious hand tracing).


Whatever you do, I hope you use these 11 Easy Steps Luxury Envelopes tips above and make a beautiful envelope to go with your luxury event or wedding.
Leave a comment and share what you made!
For more stunning stationery that will have you lusting for more, check out our luxury range at www.crimsonletters.com.
Perhaps you’re planning for a destination wedding? Look at some of the most beautiful places in the world to get married here.
Why not reach out and let us know what we can do for you, contact us here.